
Choose Crusher Wear Parts for Your Material
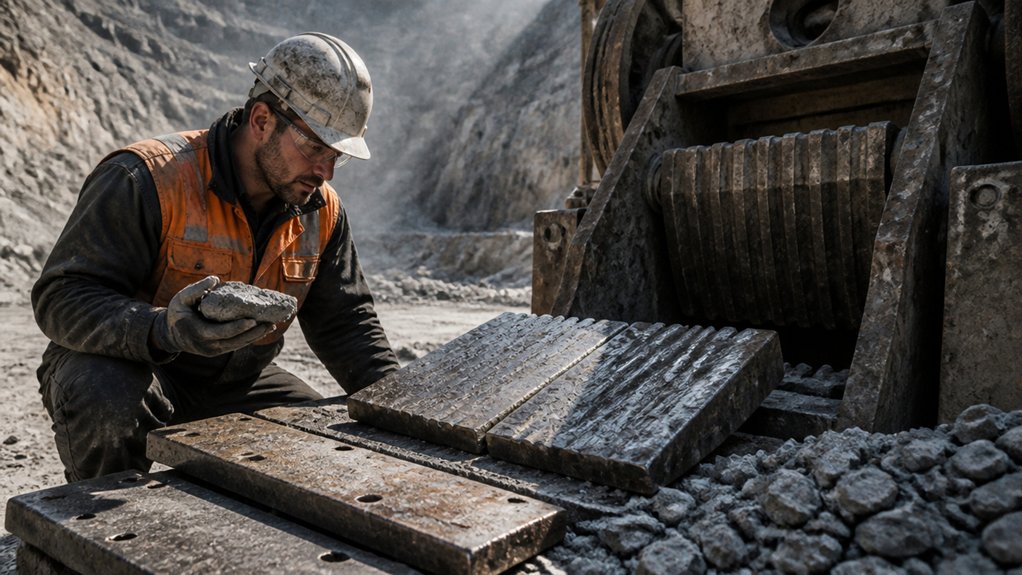
Choose crusher wear parts based on the material’s hardness, abrasiveness, moisture, and feed size. Match the alloy and profile to the rock and the way your plant runs.
High-silica granite and quartz are abrasive, so manganese steel or alloyed iron may be suitable, depending on the crusher, operating conditions, and wear pattern. Softer, less abrasive material may not need a premium wear alloy.
For wet, sticky feed, choose a profile that helps prevent material from packing and keeps the chamber flowing. Moisture can also contribute to corrosion and change how wear develops.
Check feed size and gradation: oversized or uneven feed can concentrate impact and damage liners faster.
Track liner life, product quality, and operating conditions, then use those results to guide your next material selection.
Before inspecting or changing liners, follow lockout procedures and the crusher manufacturer’s safety instructions.
Match Crusher Wear Parts to Your Machine
After selecting the wear material and profile for your feed, confirm the part matches your crusher’s make, model, and configuration. Check the part number, dimensions, mounting pattern, and cavity shape against the machine’s serial number and current setup.
Make sure the part suits the jaw, mantle, concave, or blow-bar arrangement, including any chamber or rotor options.
A compatible alloy won’t make up for a liner with the wrong profile or thickness. Use the parts manual, and check with the manufacturer if the machine’s configuration has changed.
Track service hours and wear measurements by location so you can judge whether the selected parts are holding up under your operating conditions.
Before inspecting or changing wear parts, isolate and lock out the machine, and follow your site’s safety procedures.
Install Crusher Wear Parts the Right Way
Before installing crusher wear parts, inspect the seating surfaces and mounting hardware for cracks, distortion, packed material, or excessive wear. Clean the contact areas so the liner or plate can seat fully. Confirm each part is correct for the crusher model and is installed in the right position and orientation.
Check that the material, alloy, and profile suit the rock being processed and the operating conditions. Replace damaged or worn bolts, nuts, and wedges. Use the specified fasteners and follow the manufacturer’s tightening sequence and torque requirements. Seat components evenly, close any gaps, and tighten the hardware with calibrated tools.
After installation, check clearances and confirm that all retention points are secure. Before inspecting or working on the crusher, isolate and lock out the equipment, verify it can’t start, and follow site safety procedures.
A correct fit helps limit premature wear, protect the crusher, and control operating costs.
Adjust Crusher Settings and Feed for Longer Wear
Proper installation gives crusher wear parts a secure fit, but operating settings and feed conditions determine how quickly they wear. Set the closed-side setting to suit the material’s hardness and abrasiveness, as well as the required product size. A setting that’s too tight increases crushing forces and can accelerate liner wear. One that’s too wide may reduce crushing efficiency and produce material outside the target size range.
Keep the feed steady and distribute it evenly across the chamber. Avoid surges, segregation, and prolonged empty running; all can lead to uneven loading and wear. Use crusher calibration to check that the settings are accurate and the feed system is delivering the intended rate. Follow the equipment manufacturer’s operating limits, and make gradual adjustments when the material or production target changes.
Before inspecting or adjusting the crusher, follow site lockout procedures and verify that the equipment is safely isolated. Consistent settings and a stable feed help extend wear part life.
Spot Wear Early and Replace Parts Before Failure
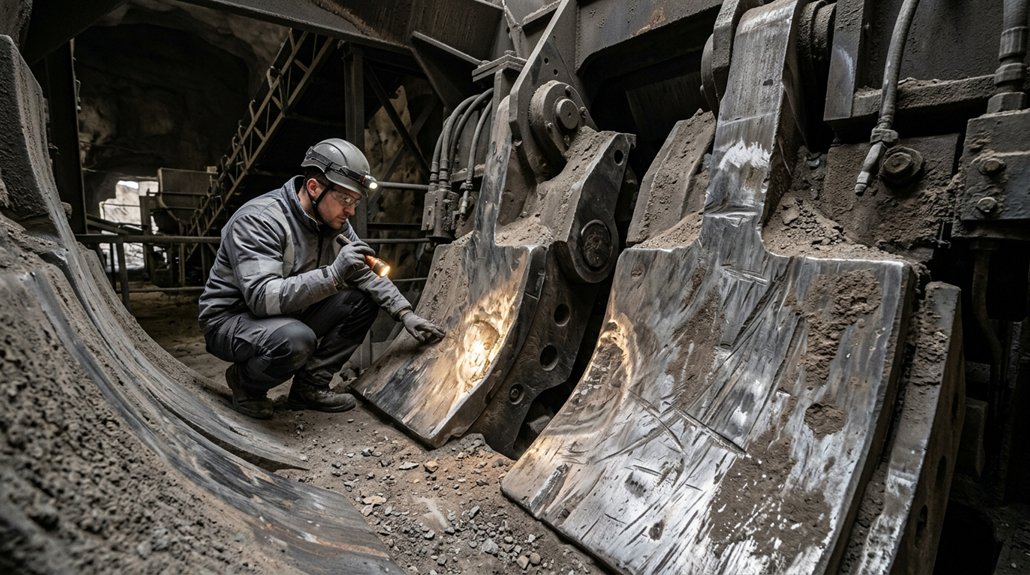
Inspect liners and other wear parts at scheduled intervals, especially when feed becomes more abrasive or uneven. Look for changes in product size, vibration, noise, or power draw. Record liner thickness at consistent points and compare the readings with the equipment manufacturer’s limits to judge remaining service life.
Check wear patterns for signs of uneven loading, feed segregation, or misalignment. Finding the cause early can prevent damage from spreading to other components. Use these observations to plan replacements during scheduled shutdowns and reduce the risk of unplanned downtime.
Replace liners when measurements approach the minimum safe thickness or crusher performance declines—not after a liner cracks or loses its profile.
Before inspecting or measuring, follow site lockout and isolation procedures. Never reach into or work on a crusher until it’s confirmed safe.
Conclusion
Getting the longest life from crusher liners and plates starts with matching the wear parts to the material, crusher, and operating conditions. Install them correctly, maintain consistent settings, and avoid uneven or erratic feed. These basics help reduce unnecessary wear and make part life more predictable.
Check high-wear areas at regular intervals and record wear against operating hours. Use those records to plan changeouts before worn parts damage other components or start affecting production. A modest improvement in liner life can add up over time, but the actual benefit depends on your material and operating conditions.
Before inspecting or replacing wear parts, follow your site’s lockout procedures and the crusher manufacturer’s safety instructions. Never enter or work on a crusher until it is isolated and secured against movement.